Instax Mini 7s has become a popular choice for capturing memories in a classic, vintage style. But getting the perfect shot requires understanding and effectively using the camera’s unique light settings.
This guide will help you take a deep dive into the Mini 7s’ light settings, enabling you to capture pictures with stunning quality and appeal.
Ultimate Guide to Instax Mini 7s Light Settings
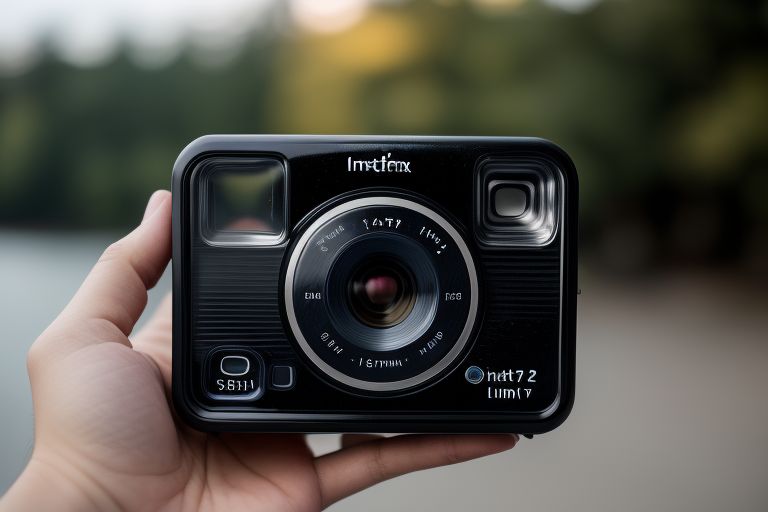
Unlocking the full potential of your Instax Mini 7s relies heavily on your understanding and utilization of its light settings. So, here’s a quick rundown of the four primary aperture settings:
- **Indoors/Night (F12.7):** Embrace the magic of low-light photography. This setting enables the camera to absorb as much light as possible, enhancing the details and overall ambiance of your indoor or night shots. But remember, avoid direct, harsh lights to prevent overexposure.
- **Cloudy/Shade (F16):** Don’t let overcast skies or shaded areas deter you. Instead, utilize this setting to beautifully illuminate your subjects against such backdrops. Be cautious of shooting directly towards the light source to prevent washed-out images.
- **Sunny/Slightly Cloudy (F22):** This setting is perfect for typical sunny days with a sprinkle of clouds. It maintains a fine balance of luminosity and precision, harnessing the sun’s radiance without compromising on intricate details.
- **Sunny and Bright (F32):** For those high-noon, sun-drenched scenarios, the F32 setting is your go-to. It restricts the amount of light entering the camera to ensure vibrant, well-detailed photos. Be mindful of the sun’s position to avoid unwanted glare or washed-out images.
While the camera does an impressive job of suggesting light settings based on the environment, remember, photography is as much about creativity as it is about precision. Feel free to experiment by deviating from the suggested settings, because sometimes, bending the rules can lead to awe-inspiring, unique results.
Understanding The Basics: Instax Mini 7s Light Settings
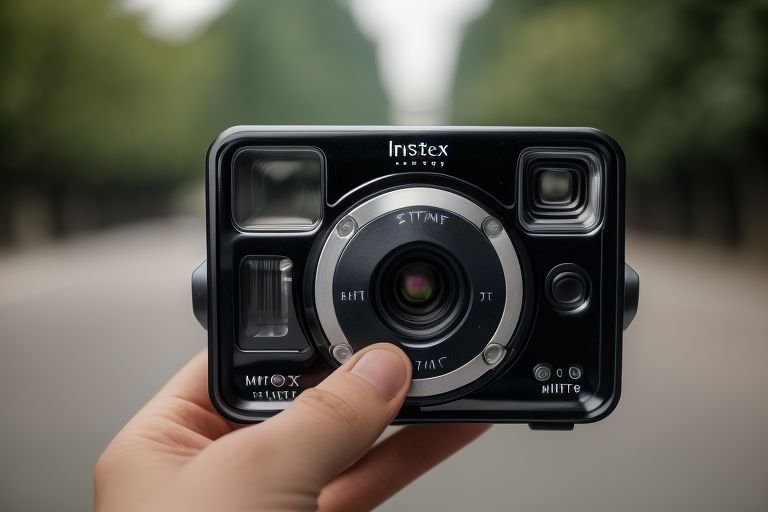
The magic of the Instax Mini 7s lies in its sophisticated exposure control. It reads the light in your environment and suggests an aperture setting – a setting that governs the amount of light let into the camera.
There are four of these aperture settings: Indoors/Night (F12.7), Cloudy/Shade (F16), Sunny/Slightly Cloudy (F22), and Sunny and Bright (F32). Each setting has a specific role to play in capturing the ideal amount of light, ensuring your photos aren’t too dark or too bright.
As a user, your job is to understand these settings and know when to use each one. You’ll quickly see how mastering these light settings can help you create more balanced and dynamic photos, irrespective of the conditions you’re shooting in.
Knowledge is power, and in this case, it’s the power to take stunning photos. Ready to dive in and explore each of these settings? Let’s go!
Mastering the Indoors/Night (F12.7) Setting

Dive into the world of low-light photography with the F12.7 setting, aptly named Indoors/Night. This setting is a master key to unlocking beautifully lit photos even in dimly lit environments.
With a generously wide aperture of F12.7, the Instax Mini 7s becomes a light magnet, capturing as much illumination as possible to bring to light those hidden details that make your photos unique.
For optimum results, make sure your subject is adequately illuminated, and try to steer clear of direct, bright light sources which can lead to overexposed, bleached out photos.
Remember, in the art of photography, balance is everything. The Indoors/Night setting is perfect for delivering a delicate equilibrium of light and shade, detail and obscurity, making your indoor and night time shots a striking sight to behold. So, go on, test out this setting, explore its capabilities, and let your photos do the talking.
Getting Familiar with the Cloudy/Shade (F16) Setting

Get ready to embrace those grey, cloudy days or seek out cool shaded spots with the F16 setting, fondly referred to as the Cloudy/Shade setting. This aperture setting lets in more light than the F22 and F32 settings, providing the perfect exposure for those low-light scenarios.
Overcast skies and shady areas that once seemed photo unworthy will now hold a new appeal as this setting beautifully illuminates your subject against these muted backdrops.
But remember, photography is all about balance, so steer clear of shooting directly towards the light source. This could result in an image that’s washed out and lacks the compelling contrast you’re aiming for.
So, the next time the weather is gloomy or you find a beautiful scene in the shade, don’t shy away from taking out your Instax Mini 7s.
Adjust to the F16 setting and capture the drama and quiet beauty these conditions can offer. Experiment, explore, and let the F16 setting add another dimension to your photography skills.
Leveraging the Sunny/Slightly Cloudy (F22) Setting

Unleash the power of your Instax Mini 7s on those typical outdoor days where the sun is out, and the sky is lightly speckled with clouds. With the F22 setting, also known as the Sunny/Slightly Cloudy setting, your photography will hit that sweet spot between luminosity and precision.
This setting knows how to work the light, restricting the amount that reaches the camera lens to keep those potentially blinding bright rays at bay. The result? Photos that showcase the sun’s radiance without surrendering any of those precious details.
Venture out and play around with various shooting angles to harness the contrast and shadowy details that add depth to your images. This is the beauty of the F22 setting: it lets you revel in the sun’s brilliance while maintaining the subtle, nuanced details that make your photos truly pop.
So, don’t wait for the perfect conditions. Embrace the ordinary sunny days with a few clouds, dial in that F22 setting, and allow your Instax Mini 7s to work its magic.
Making the Most of the Sunny and Bright (F32) Setting

Step out into the dazzling daylight and don’t forget to bring along your Instax Mini 7s equipped with the Sunny and Bright (F32) setting. Designed for those glorious, sun-soaked afternoons, the F32 aperture narrows down, allowing only a minimal amount of light to enter your camera.
This ingenious move ensures your images aren’t overexposed, retaining the vibrant colors and intricate details even in a sea of brightness. But remember, just like the sun at noon, this setting comes with its own set of challenges.
You need to be cautious of the sun’s position. Despite the F32 setting doing its best to limit the light, shooting directly into the sun can still result in unwanted glare or potentially washed-out images.
A tip to keep in mind: try to position the sun behind you when capturing your photos. This way, your subjects will be bathed in natural light, making your photos appear crisp and beautifully lit.
But don’t stop there. Keep experimenting, keep clicking. After all, every day is a sunny day in the world of photography when you have the F32 setting in your toolkit.
The Sunny and Bright (F32) setting is not just an option in your Instax Mini 7s, it’s an invitation to capture the world in its brightest, most vibrant form.
So, get out there, let the sunlight be your canvas, and the F32 setting be your brush. Embrace the beauty of the sun-drenched world through your Instax Mini 7s and make every sunny day a memorable one.
When to Break the Rules: Overriding Auto Suggestions

Yes, the Instax Mini 7s does an impressive job of advising light settings, but there’s no rule saying you can’t shake things up a bit. Sometimes, bending the rules can lead to exceptional photos that ooze a unique flavor.
You might discover that purposely underexposing or overexposing an image introduces an unexpected and captivating ambiance, or brings an interesting facet of your subject to the fore. So, don’t shy away from straying off the beaten path.
Follow your creative instinct, and let it guide you to a world of photographic exploration and innovation. Because ultimately, brilliant photography isn’t just about knowing the basics—it’s about knowing when and how to deviate from them to craft your visual masterpiece.

