Are you tired of the same old blank walls and lackluster decor in your home? Want to add some personality and style without breaking the bank? Look no further! In this post, we’ll show you 16 creative and easy DIY home decor ideas that will take your wall art to the next level.
From repurposed vintage finds to handmade masterpieces, these projects will inspire you to think outside the box and get crafty.
Whether you’re a seasoned DIY enthusiast or a beginner looking for a fun project, these DIY home decor ideas will help you transform your space into a reflection of your unique style and personality. So, grab your glue gun, get creative, and let’s get started!
Reclaimed Wood Wall Art: A Rustic Touch
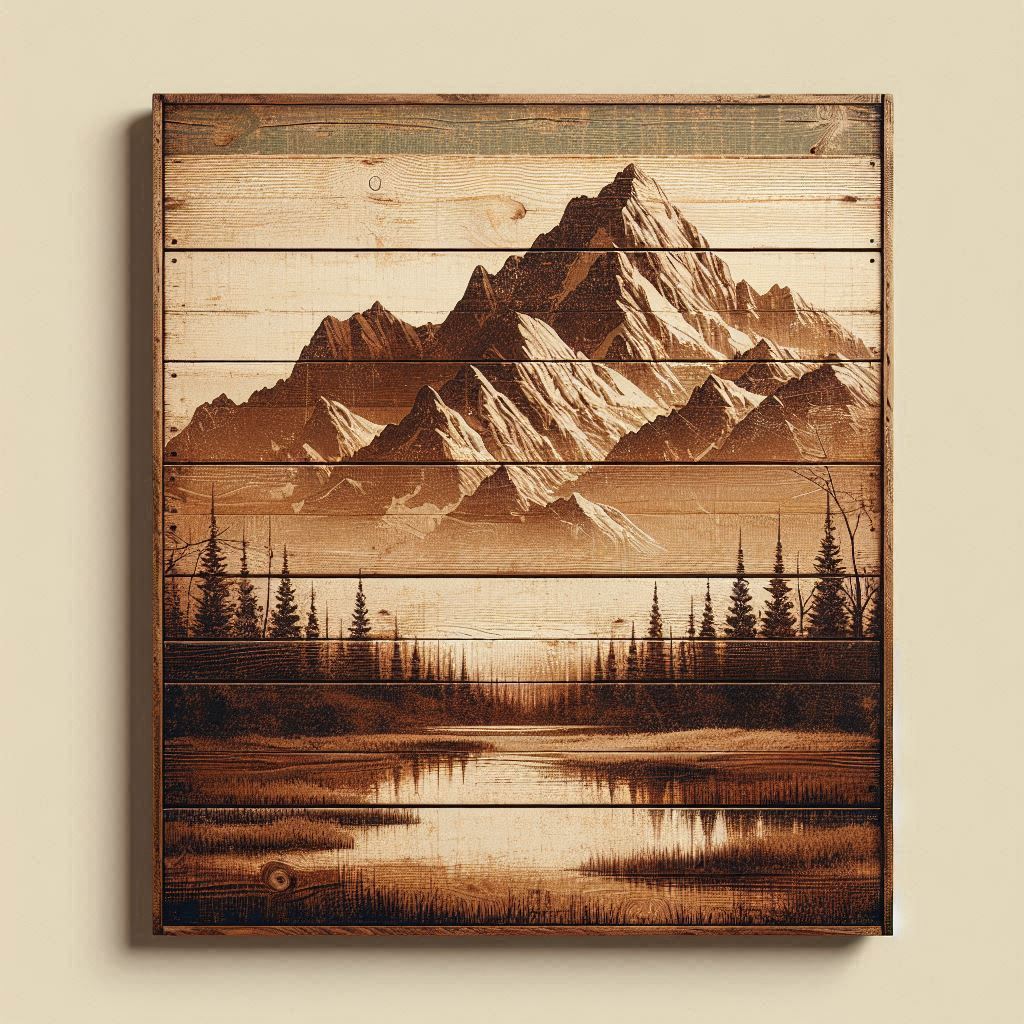
Add a touch of rustic charm to your walls with this easy DIY project. Reclaimed wood wall art is a great way to upcycle old wood and create a unique piece of art that tells a story. You’ll need:
- Reclaimed wood planks (you can find them at your local hardware store or online)
- Wood glue
- Nails or screws
- A hammer or drill
- A saw (optional)
Instructions:
- Collect your reclaimed wood planks and clean them thoroughly.
- Arrange the planks in a pattern or design that you like. You can create a geometric pattern, a random design, or even spell out a word or phrase.
- Use wood glue to attach the planks to each other, starting from the center and working your way outwards.
- Use nails or screws to secure the planks to each other.
- If you want to add some extra texture, use a saw to distress the wood or create a rough edge.
- Hang your reclaimed wood wall art in a prominent place and enjoy the rustic touch it adds to your room.
Best DIY Home Decor Crafts on Amazon
Mosaic Masterpiece: A Colorful DIY Wall Hanging
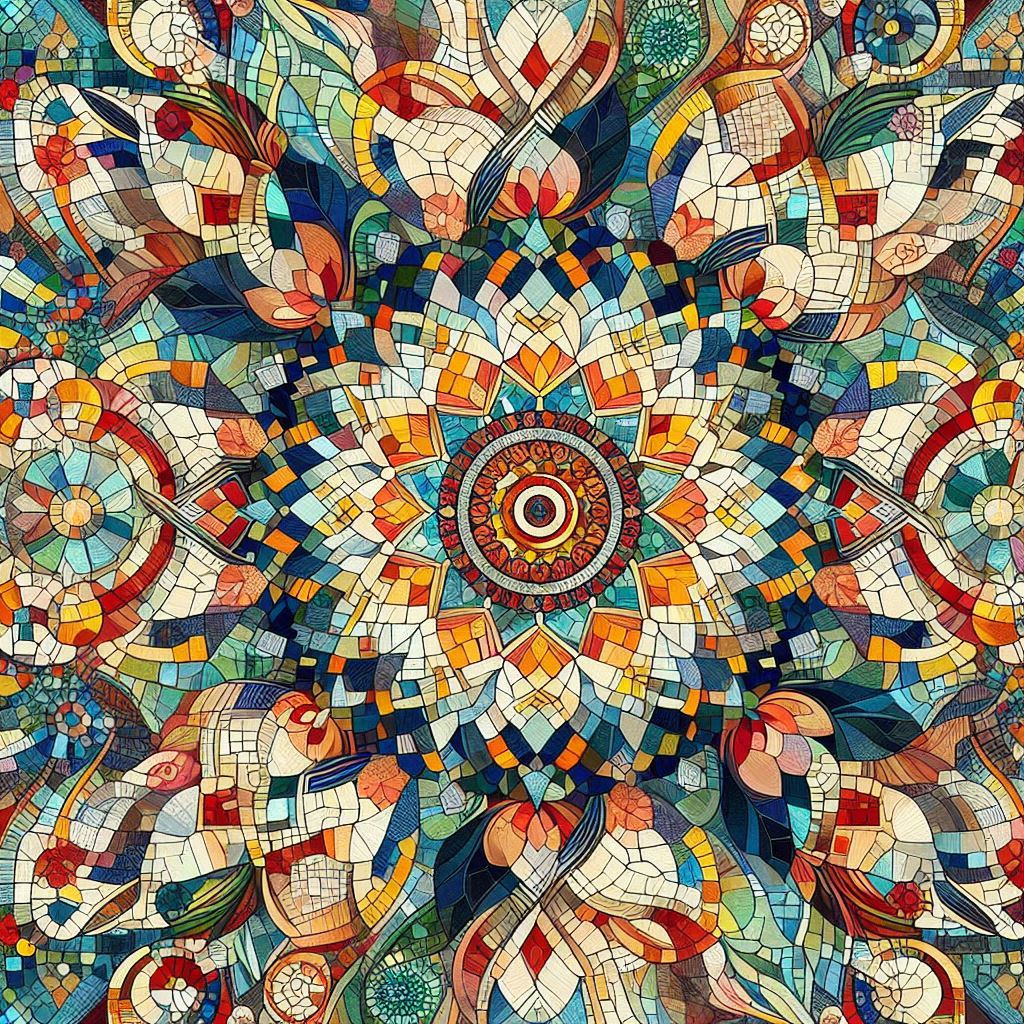
Create a stunning mosaic masterpiece that will add a pop of color to your walls. This project is perfect for those who love working with small pieces and creating intricate designs. You’ll need:
- A piece of plywood or MDF board (as the base)
- Tiles or glass pieces in different colors and shapes
- Tile adhesive
- Grout
- A grout spreader
- A sealant (optional)
Instructions:
- Cut your plywood or MDF board to the desired size and shape.
- Start creating your mosaic design by applying tile adhesive to the back of each tile and attaching it to the board.
- Continue adding tiles, working your way from the center outwards.
- Once you’ve completed your design, let the adhesive dry completely.
- Apply grout to the gaps between the tiles, using a grout spreader to spread it evenly.
- Let the grout dry and then seal your mosaic masterpiece with a sealant (if desired).
- Hang your mosaic wall hanging in a place where it can be admired.
Fabric Frenzy: Turn Old Clothes into Unique Wall Art
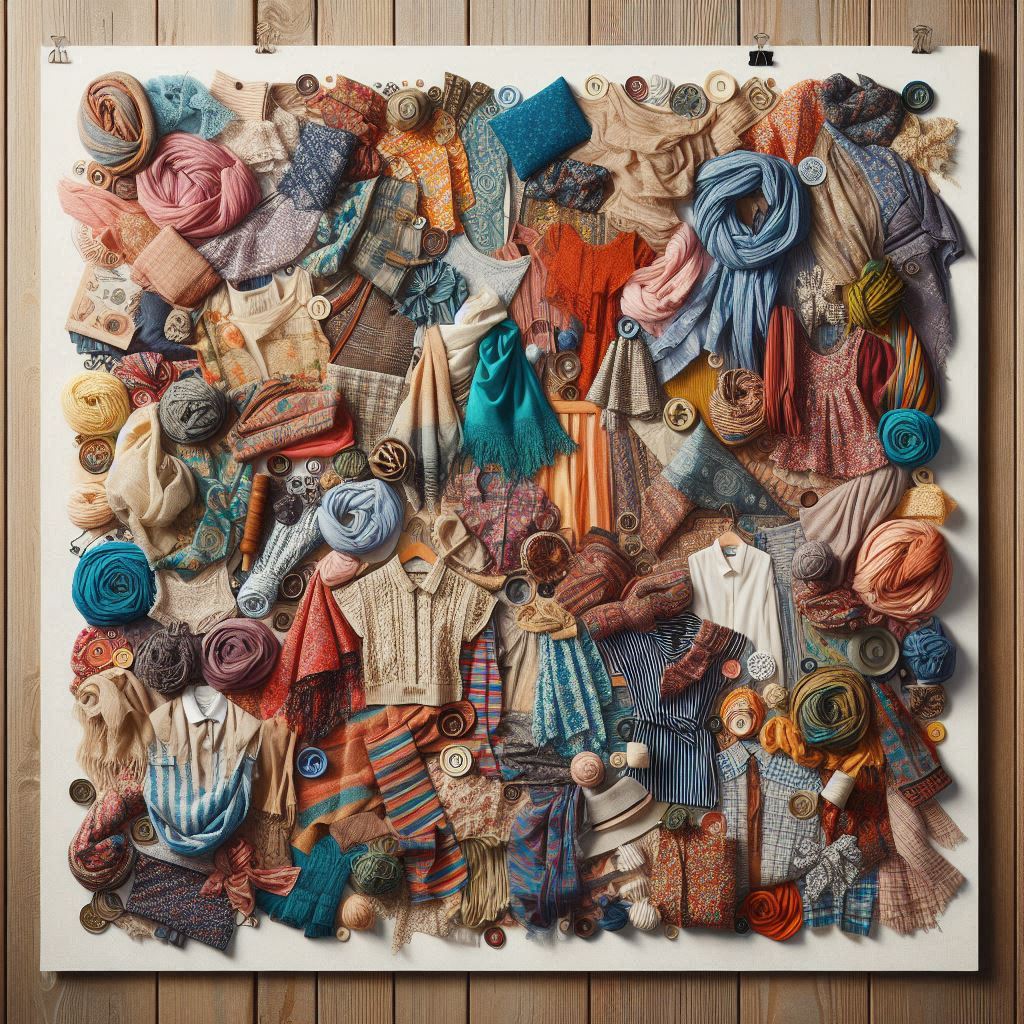
Give new life to your old clothes by turning them into unique wall art. This project is perfect for those who love working with fabric and creating something truly one-of-a-kind. You’ll need:
Claim Upto 81% Off On Bestseller Home Decor Products
- Old clothes (t-shirts, jeans, scarves, etc.)
- Scissors
- Hot glue gun
- A piece of cardboard or canvas (as the base)
- A frame or stretcher bars (optional)
Instructions:
- Collect your old clothes and cut them into strips or shapes.
- Arrange the fabric pieces in a design or pattern that you like.
- Use hot glue to attach the fabric pieces to the cardboard or canvas base.
- Continue adding fabric pieces, working your way from the center outwards.
- Once you’ve completed your design, let the glue dry completely.
- If desired, frame your fabric wall art with a frame or stretcher bars.
- Hang your unique wall art in a place where it can be admired.
Nature-Inspired Beauty: A DIY Botanical Print Gallery
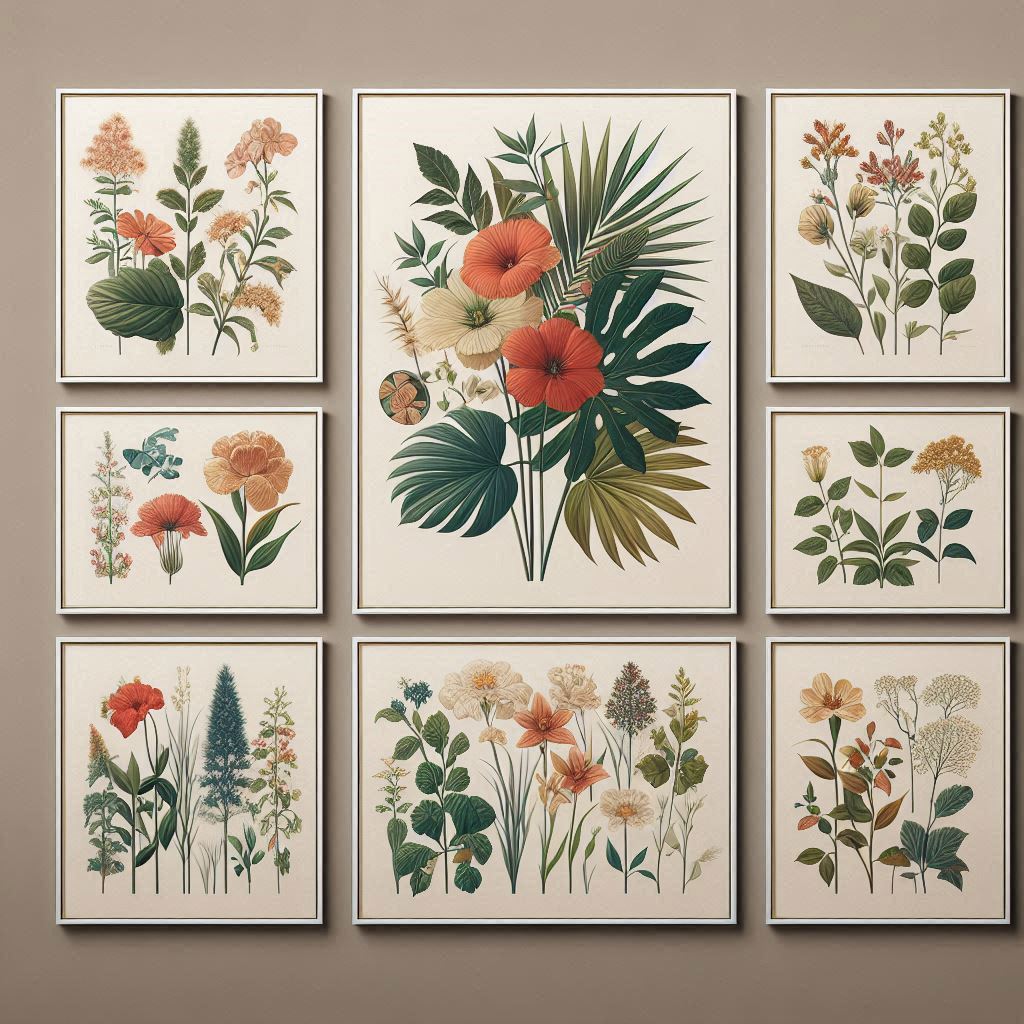
Bring the outdoors in with this beautiful DIY botanical print gallery. This project is perfect for those who love nature and want to add a touch of elegance to their walls. You’ll need:
- Botanical prints or photographs
- Frames (you can use identical frames or mix and match different styles)
- A piece of cardboard or foam board (as the base)
- Hot glue gun
- A level
- A hammer or nail gun
Instructions:
- Collect your botanical prints or photographs and arrange them in a design or pattern that you like.
- Cut a piece of cardboard or foam board to the desired size and shape.
- Use hot glue to attach the prints to the cardboard or foam board base.
- Continue adding prints, working your way from the center outwards.
- Once you’ve completed your design, let the glue dry completely.
- Use a level to ensure your gallery is straight, and then attach it to the wall using a hammer or nail gun.
- Hang your botanical print gallery in a place where it can be admired.
Upcycled Window Decor: A Vintage Touch
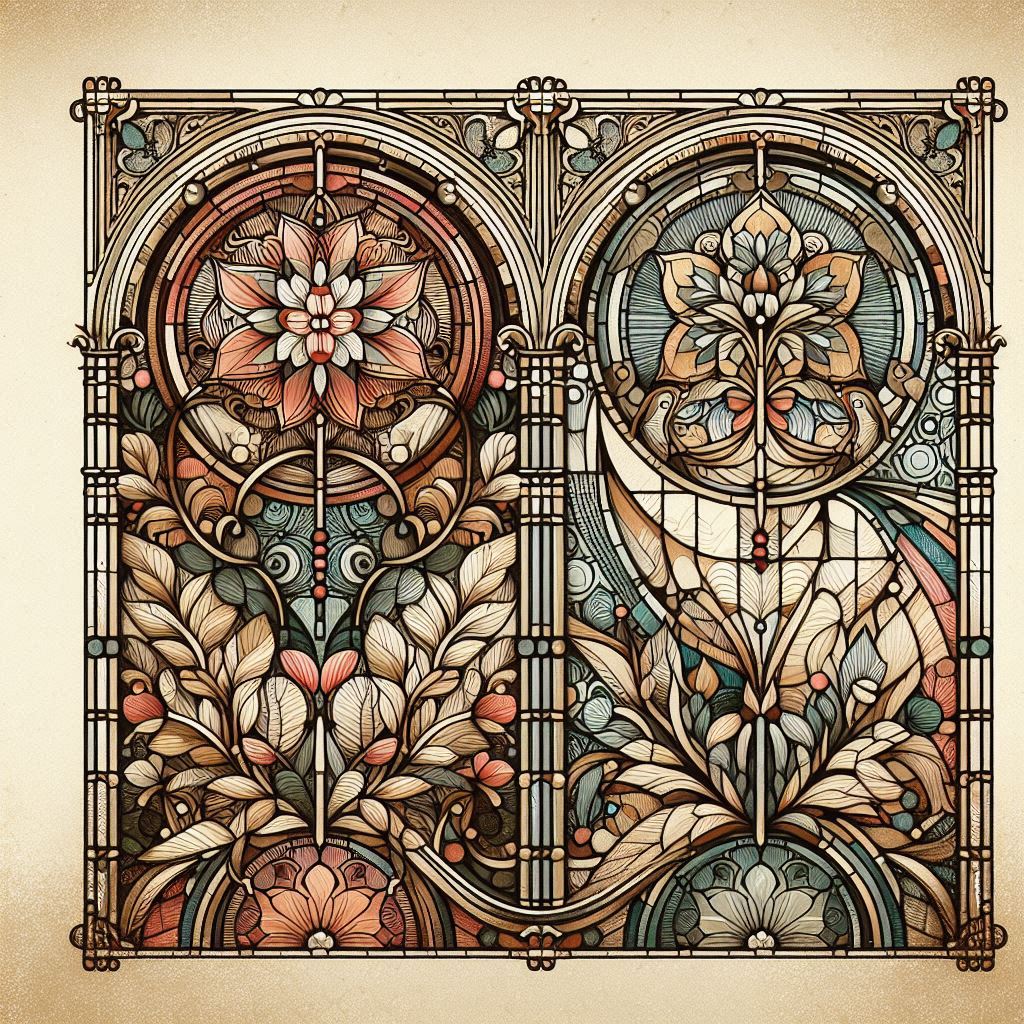
Add a touch of vintage charm to your walls with this upcycled window decor project. This project is perfect for those who love working with old windows and creating something truly unique. You’ll need:
- Old windows (you can find them at thrift stores or online)
- Paint or stain
- A piece of cardboard or foam board (as the base)
- Hot glue gun
- Decorative items (optional)
Instructions:
- Collect your old windows and clean them thoroughly.
- Paint or stain the windows to give them a distressed or vintage look.
- Cut a piece of cardboard or foam board to the desired size and shape.
- Use hot glue to attach the windows to the cardboard or foam board base.
- Continue adding windows, working your way from the center outwards.
- Once you’ve completed your design, let the glue dry completely.
- Add decorative items such as flowers, ribbons, or other embellishments to give your window decor a personal touch.
- Hang your upcycled window decor in a place where it can be admired.
String Art Magic: A Whimsical DIY Wall Decoration
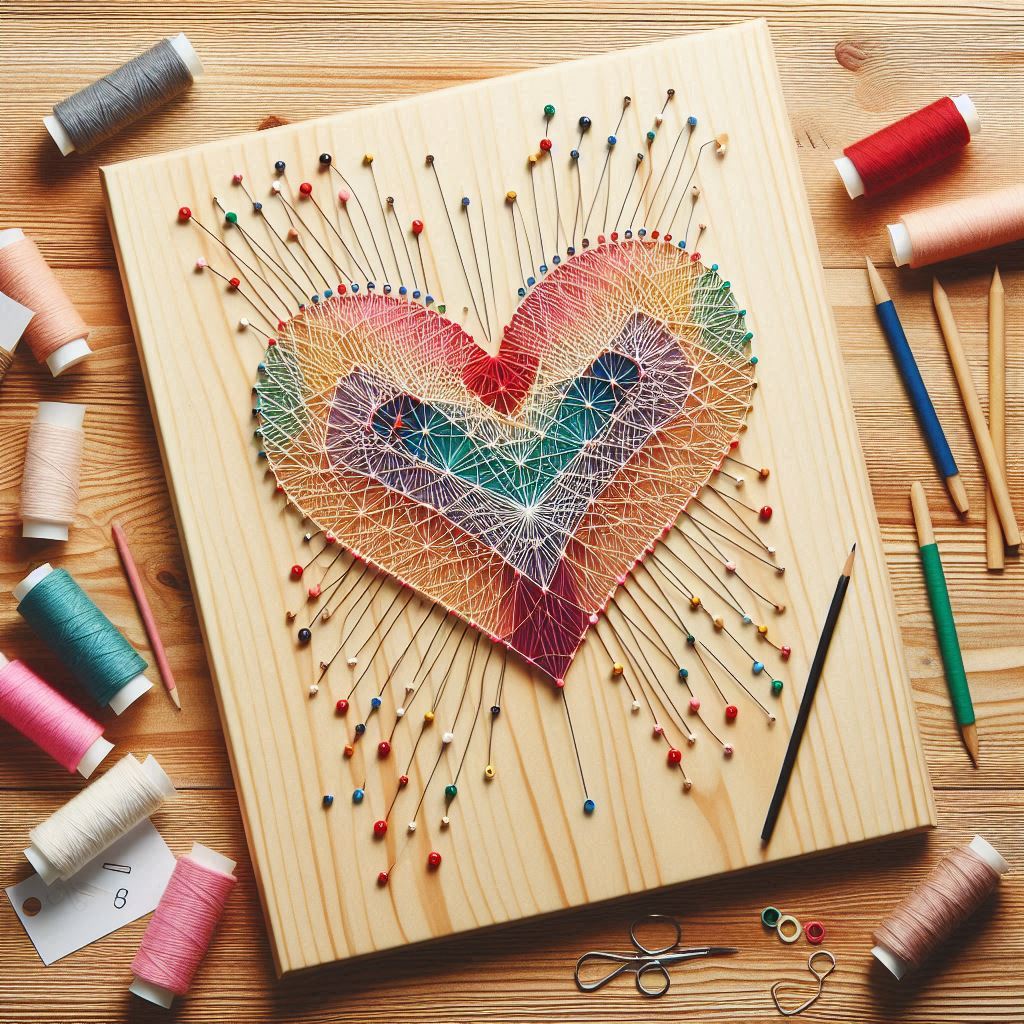
Create a whimsical and magical string art piece that will add a touch of personality to your walls. This project is perfect for those who love working with strings and creating intricate designs. You’ll need:
- A piece of wood or cardboard (as the base)
- Nails or pins
- Colored strings or yarn
- Scissors
- A hammer or nail gun
Instructions:
- Cut a piece of wood or cardboard to the desired size and shape.
- Hammer or nail pins into the wood or cardboard, creating a pattern or design.
- Cut colored strings or yarn into long pieces.
- Start weaving the strings around the pins, creating a pattern or design.
- Continue adding strings, working your way from the center outwards.
- Once you’ve completed your design, tie off the strings with a knot.
- Hang your string art magic in a place where it can be admired.
DIY Canvas Prints: Turn Your Photos into Wall Art
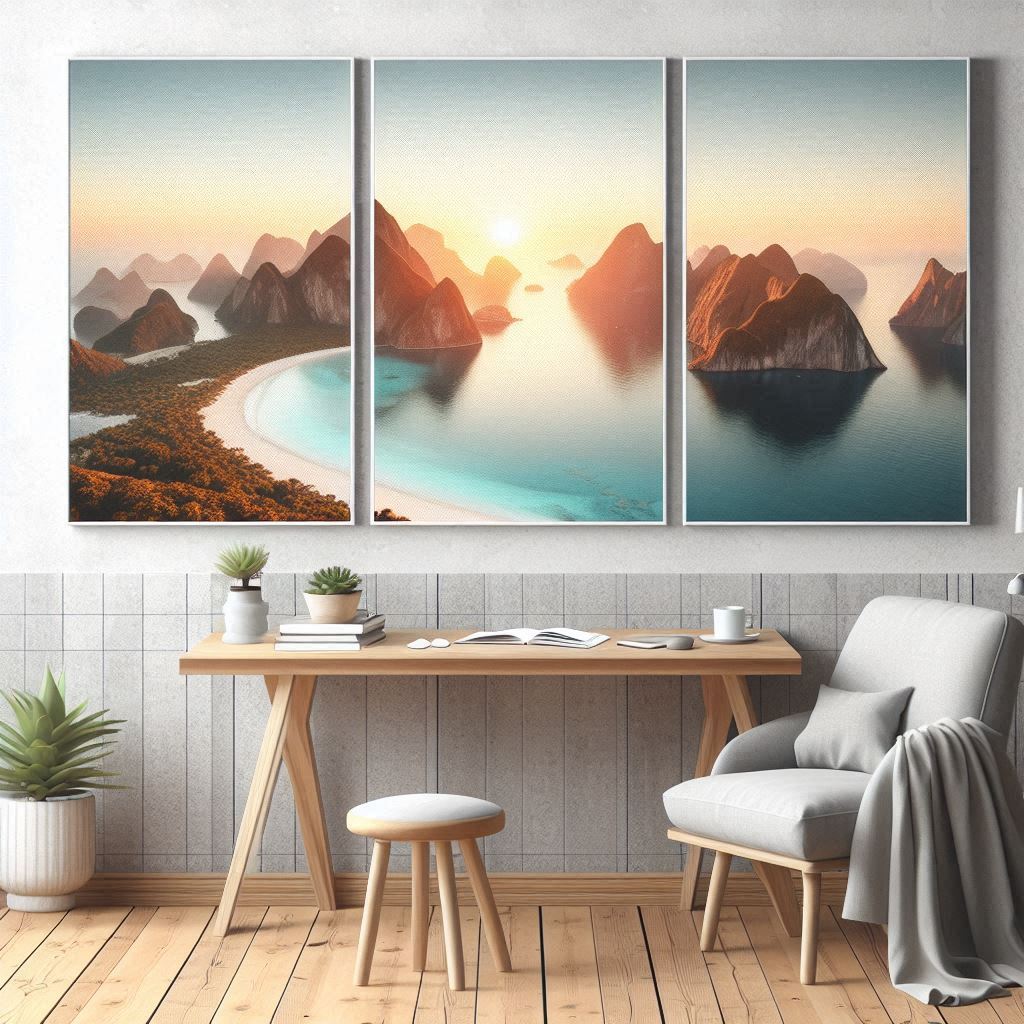
Turn your favorite photos into stunning canvas prints that will add a personal touch to your walls. This project is perfect for those who love photography and want to create something truly unique. You’ll need:
- Canvas prints or canvas paper
- A printer
- A frame or stretcher bars
- A photo editing software (optional)
Instructions:
- Choose your favorite photos and edit them using a photo editing software (if desired).
- Print your photos onto canvas prints or canvas paper.
- Cut the canvas to the desired size and shape.
- Stretch the canvas over a frame or stretcher bars.
- Hang your DIY canvas print in a place where it can be admired.
Washi Tape Wonders: A Simple yet Stylish Wall Design
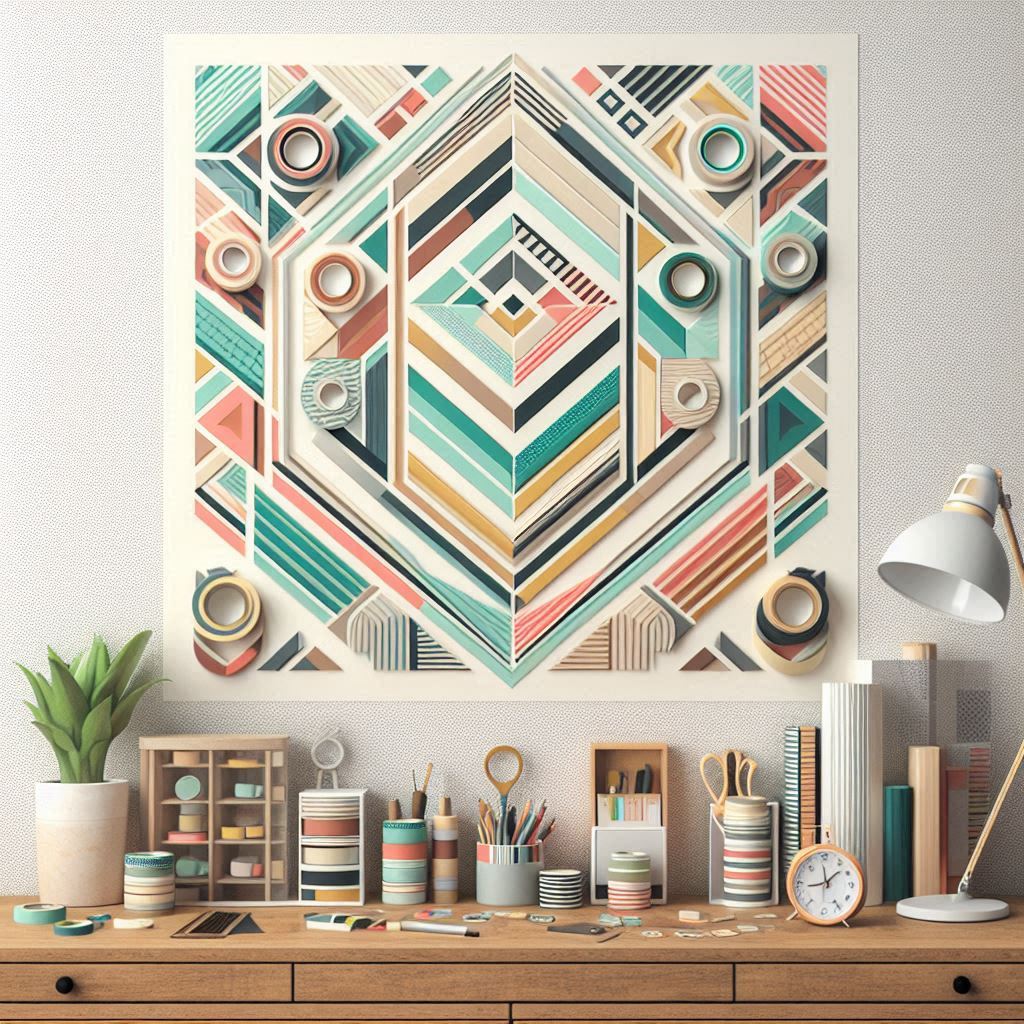
Create a simple yet stylish wall design using washi tape. This project is perfect for those who love working with washi tape and creating geometric patterns. You’ll need:
- Washi tape in different colors and patterns
- A wall or piece of cardboard (as the base)
- A level
- A ruler or straightedge
Instructions:
- Choose a wall or piece of cardboard as the base.
- Use a level to ensure the wall or cardboard is straight.
- Apply washi tape to the wall or cardboard, creating a geometric pattern or design.
- Continue adding washi tape, working your way from the center outwards.
- Once you’ve completed your design, step back and admire your washi tape wonders.
- If desired, add additional decorations such as stickers or stencils to give your design a personal touch.
Macrame Madness: A Boho-Chic Wall Hanging
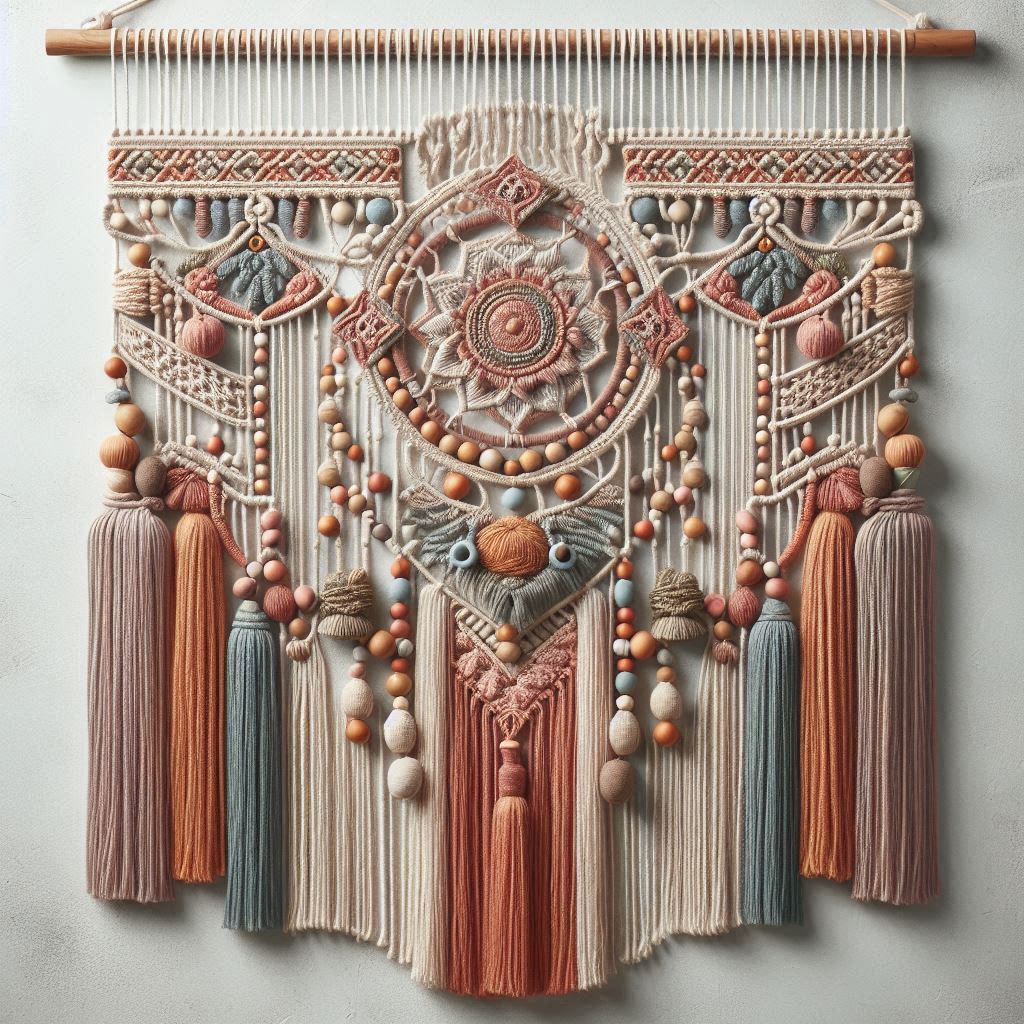
Add a touch of bohemian chic to your walls with this macrame wall hanging project. This project is perfect for those who love working with cord or yarn and creating intricate knots. You’ll need:
- Macrame cord or yarn
- A wooden dowel or rod
- Scissors
- A board or cardboard (as the base)
- A few basic knots (such as the square knot and the bowline knot)
Instructions:
- Cut a piece of macrame cord or yarn to the desired length.
- Tie a knot at one end of the cord to create a loop.
- Begin a macrame pattern, using the square knot and the bowline knot to create a series of knots.
- Continue adding knots, working your way down the cord.
- Once you’ve completed your design, tie a final knot at the end of the cord.
- Attach the cord to a wooden dowel or rod, and hang your macrame wall hanging in a place where it can be admired.
Chalkboard Chic: A DIY Wall Art Project for Any Room
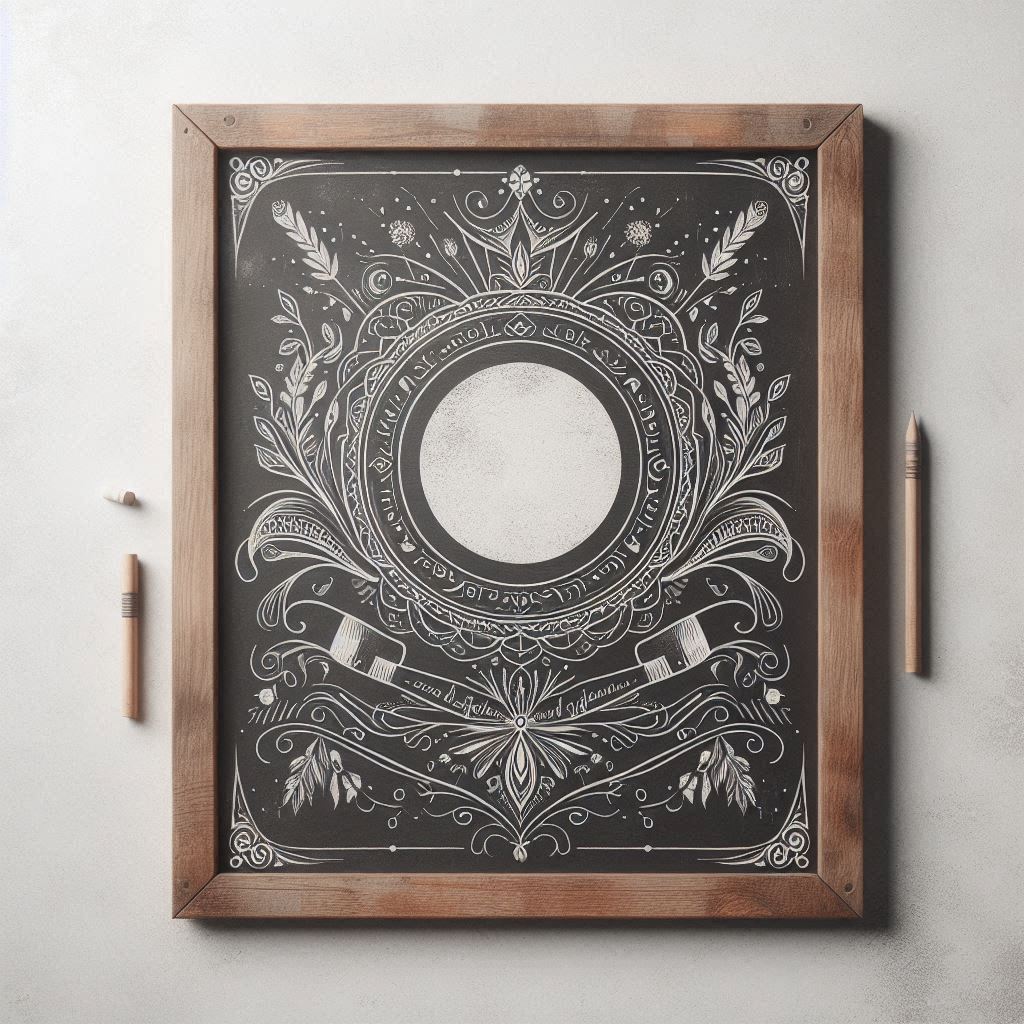
Add a touch of rustic charm to your walls with this chalkboard wall art project. This project is perfect for those who love working with chalkboard paint and creating a unique piece of art. You’ll need:
- Chalkboard paint
- A piece of wood or MDF board (as the base)
- A paintbrush
- A chalk marker or chalk
Instructions:
- Cut a piece of wood or MDF board to the desired size and shape.
- Paint the board with chalkboard paint, following the manufacturer’s instructions.
- Once the paint is dry, use a chalk marker or chalk to create a design or message on the board.
- Hang your chalkboard wall art in a place where it can be admired.
Seashell Symphony: A Coastal-Inspired Wall Decoration
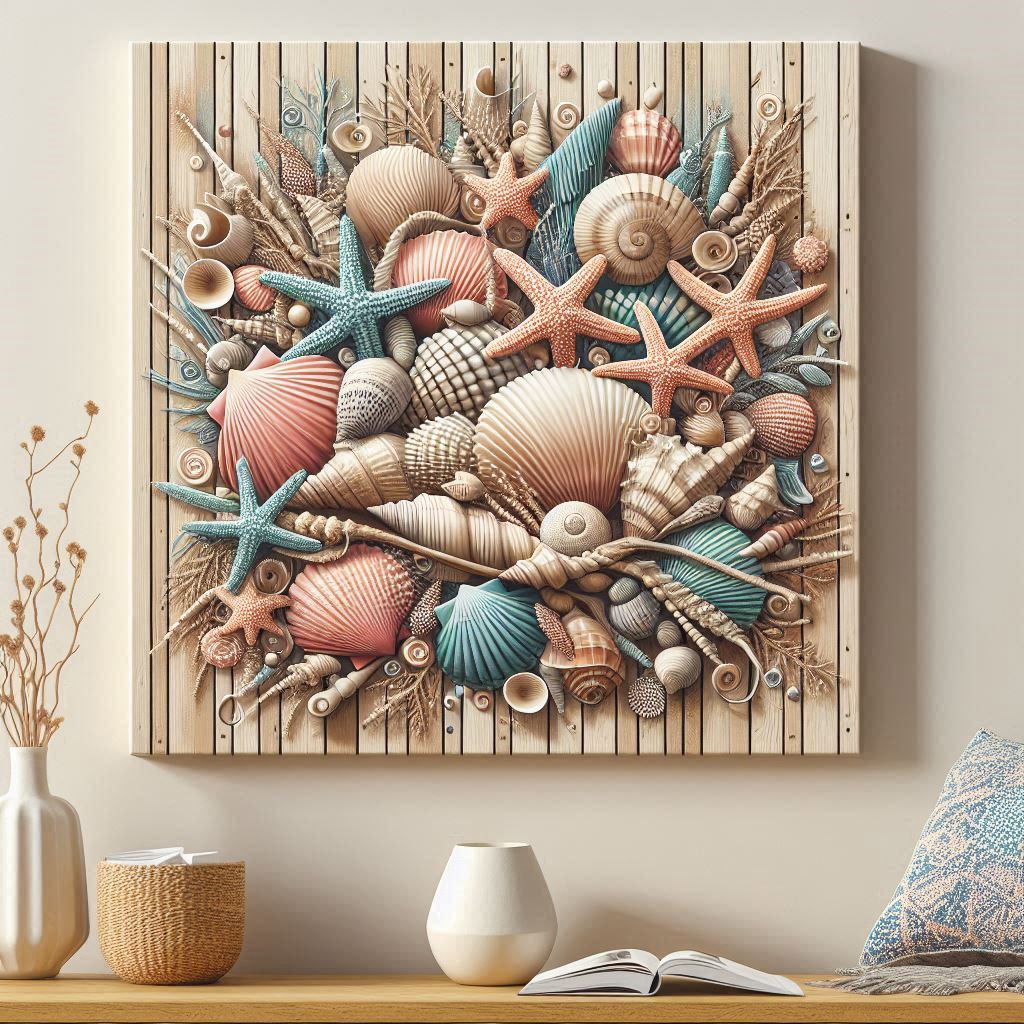
Bring the beach to your walls with this seashell wall decoration project. This project is perfect for those who love working with seashells and creating a coastal-inspired piece of art. You’ll need:
- Seashells
- A hot glue gun
- A piece of cardboard or foam board (as the base)
- A frame or shadow box (optional)
Instructions:
- Collect seashells in different shapes and sizes.
- Arrange the seashells in a design or pattern on the cardboard or foam board base.
- Use hot glue to attach the seashells to the base.
- Continue adding seashells, working your way from the center outwards.
- Once you’ve completed your design, let the glue dry completely.
- If desired, frame your seashell wall decoration with a frame or shadow box.
Yarn Bombing: A Colorful DIY Wall Hanging
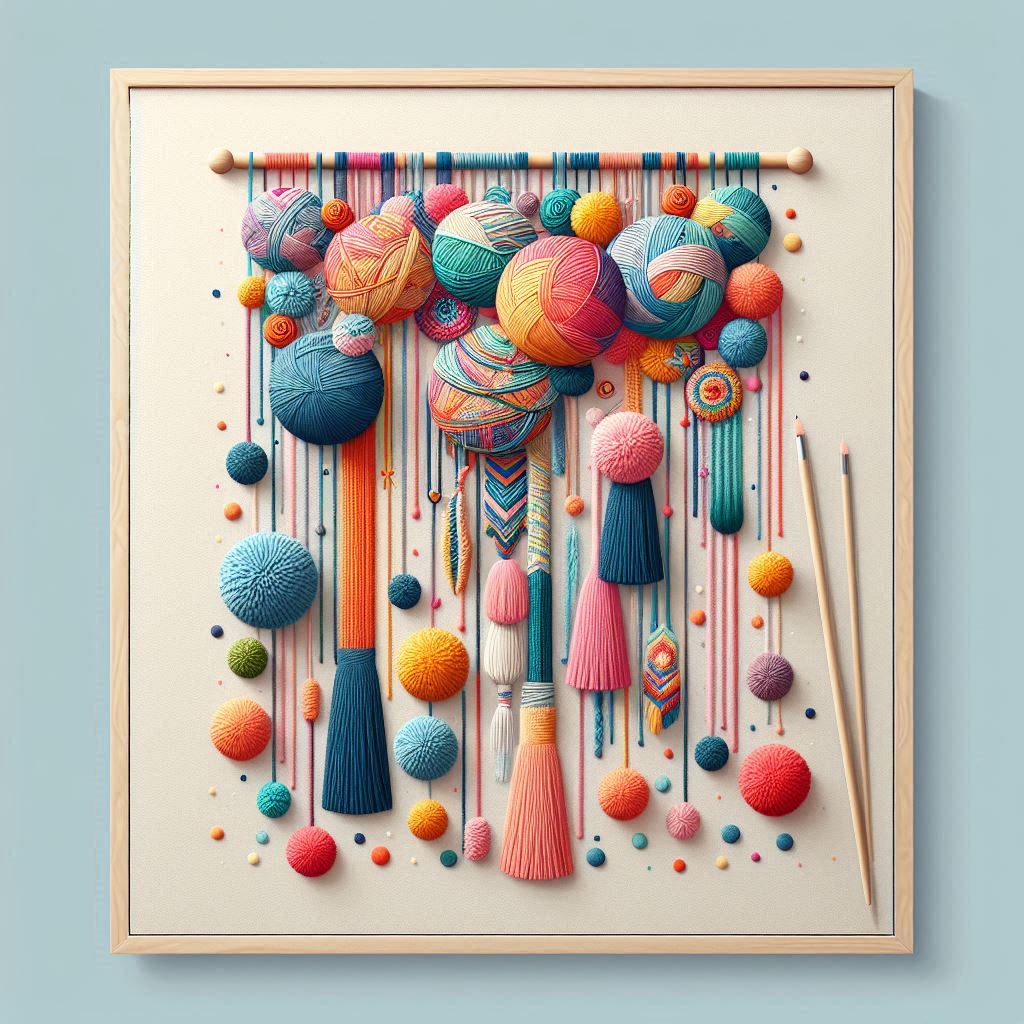
Add a pop of color to your walls with this yarn bombing wall hanging project. This project is perfect for those who love working with yarn and creating a unique piece of art. You’ll need:
- Yarn in different colors
- A Styrofoam ball or a piece of cardboard (as the base)
- Scissors
- A hot glue gun
Instructions:
- Wrap yarn around the Styrofoam ball or cardboard base, creating a colorful and textured design.
- Use hot glue to attach the yarn to the base.
- Continue adding yarn, working your way from the center outwards.
- Once you’ve completed your design, let the glue dry completely.
- Hang your yarn bombing wall hanging in a place where it can be admired.
Mirrored Magic: A DIY Wall Decoration for Added Glam
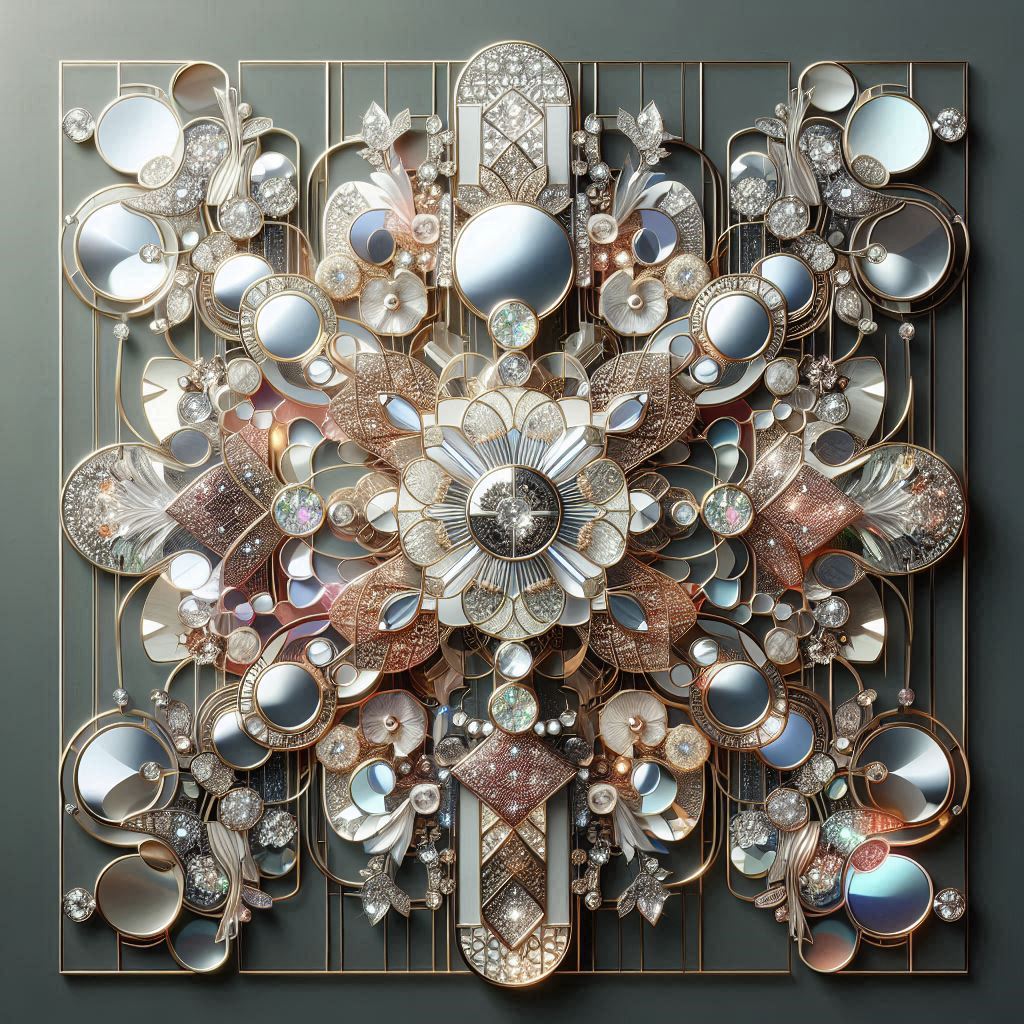
Add a touch of glamour to your walls with this mirrored wall decoration project. This project is perfect for those who love working with mirrors and creating a unique piece of art. You’ll need:
- Mirrors in different shapes and sizes
- A hot glue gun
- A piece of cardboard or foam board (as the base)
- A frame or shadow box (optional)
Instructions:
- Collect mirrors in different shapes and sizes.
- Arrange the mirrors in a design or pattern on the cardboard or foam board base.
- Use hot glue to attach the mirrors to the base.
- Continue adding mirrors, working your way from the center outwards.
- Once you’ve completed your design, let the glue dry completely.
- If desired, frame your mirrored wall decoration with a frame or shadow box.
Paper Flower Power: A Delicate DIY Wall Art Project
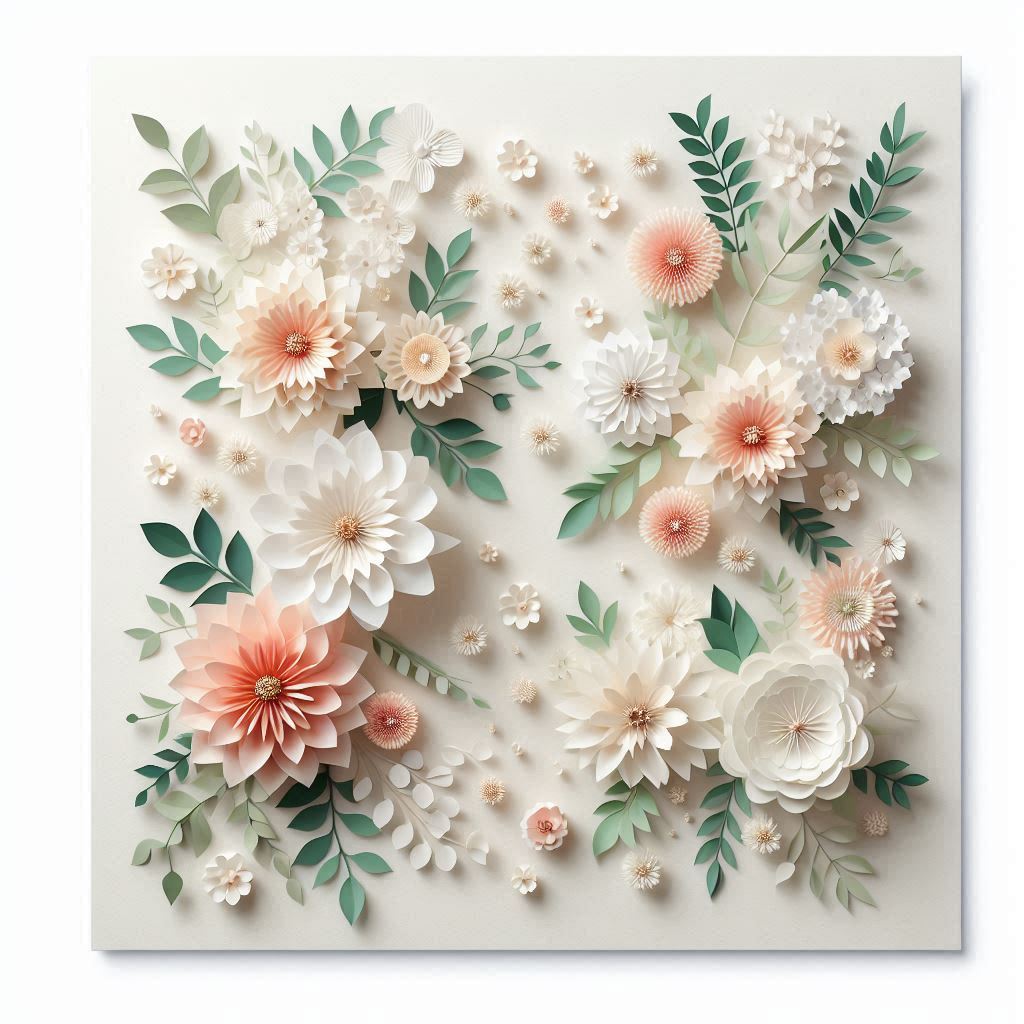
Create a delicate and beautiful paper flower wall art project that will add a touch of elegance to your walls. This project is perfect for those who love working with paper and creating intricate designs. You’ll need:
- Paper in different colors and textures
- Scissors
- A glue stick
- A piece of cardboard or foam board (as the base)
Instructions:
- Cut out paper flowers in different shapes and sizes.
- Arrange the flowers in a design or pattern on the cardboard or foam board base.
- Use a glue stick to attach the flowers to the base.
- Continue adding flowers, working your way from the center outwards.
- Once you’ve completed your design, let the glue dry completely.
- Hang your paper flower wall art in a place where it can be admired.
Geometric Glamour: A DIY Wall Art Project with Stencils
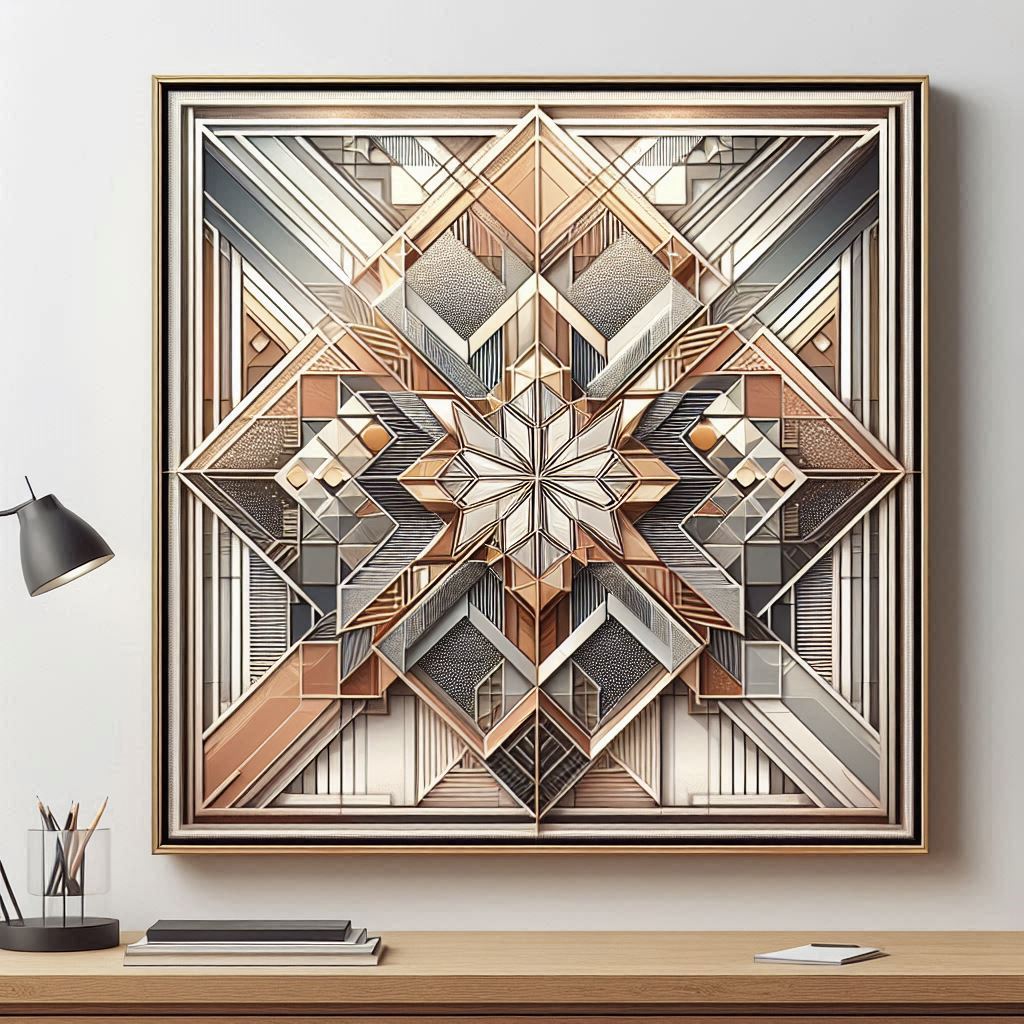
Add a touch of geometric glamour to your walls with this DIY wall art project using stencils. This project is perfect for those who love working with stencils and creating intricate designs. You’ll need:
- Stencils in different shapes and sizes
- Paint or markers
- A piece of cardboard or foam board (as the base)
Instructions:
- Choose a stencil design and place it on the cardboard or foam board base.
- Use paint or markers to fill in the stencil design.
- Continue adding stencils, working your way from the center outwards.
- Once you’ve completed your design, let the paint or markers dry completely.
- Hang your geometric wall art in a place where it can be admired.
Quote Me Happy: A DIY Wall Art Project with Inspirational Quotes
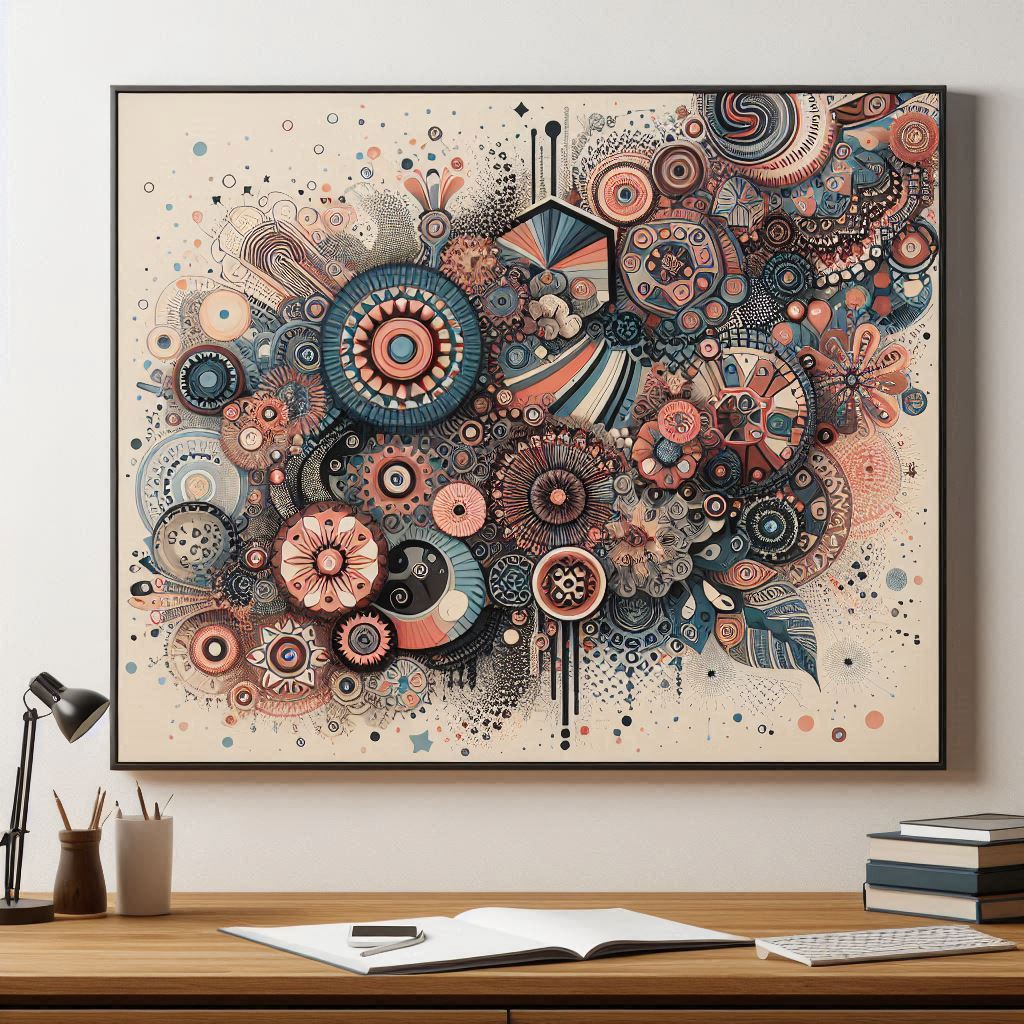
Add a touch of inspiration to your walls with this DIY wall art project using inspirational quotes. This project is perfect for those who love working with quotes and creating a unique piece of art. You’ll need:
- Inspirational quotes
- A piece of cardboard or foam board (as the base)
- Paint or markers
- A frame or shadow box (optional)
Instructions:
- Choose an inspirational quote and write it on the cardboard or foam board base.
- Use paint or markers to decorate the quote and add a design or pattern.
- Continue adding quotes, working your way from the center outwards.
- Once you’ve completed your design, let the paint or markers dry completely.
- If desired, frame your quote wall art with a frame or shadow box.
- Hang your quote wall art in a place where it can be admired.
FAQs
Q: What kind of materials do I need for these DIY projects?
A: The materials needed for each project are listed in the instructions. However, some common materials used in these projects include wood, fabric, yarn, paper, glue, scissors, and paint.
Q: How long do these projects take to complete?
A: The time it takes to complete each project varies, but most can be completed in a few hours or less. Some projects, like the macrame wall hanging, may take longer due to the intricate knotting process.
Q: What if I’m not crafty or artistic? Can I still do these projects?
A: Absolutely! These projects are designed to be easy to follow and require minimal artistic skill. If you’re new to DIY projects, start with a simple one like the washi tape wall design or the paper flower wall art.
Q: Can I customize these projects to fit my personal style?
A: Yes! These projects are meant to be a starting point, and you can always add your own personal touch to make them unique. Feel free to experiment with different materials, colors, and designs to make the projects your own.
Q: Are these projects suitable for kids?
A: Some of these projects, like the paper flower wall art and the yarn bombing wall hanging, are suitable for kids with adult supervision. However, others, like the macrame wall hanging and the mirrored wall decoration, may require more skill and patience, and are best suited for adults.
Q: Can I sell the DIY projects I make?
A: If you’re planning to sell your DIY projects, make sure to research any copyright or licensing issues related to the materials or designs you’re using. Additionally, consider pricing your projects fairly and providing good customer service to build a positive reputation.
Last update on 2025-03-12 / Affiliate links / Images from Amazon Product Advertising API. Some of the links on this website are affiliate links, which means that at no additional cost to you, I earn a commission if you click through and make a purchase. I only recommend products and services that I believe will add value to my readers. Thank you for your support!