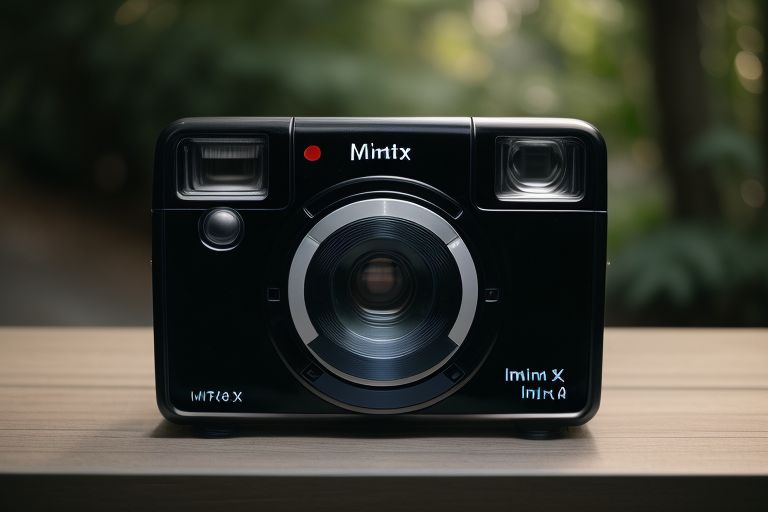
Your Instax Mini 9 is your trusted partner for capturing life’s fleeting moments. But what do you do when the film gets stuck? It’s a predicament many Instax Mini 9 owners have faced.
The good news is that it’s usually an easy fix, once you understand the causes and possible solutions.
Understanding the Problem: Why Does Film Get Stuck?

Film jams, the unseen menace of the photography world, are quite commonplace among instant cameras, and the Instax Mini 9 is no exception. But what causes these frustrating hiccups in your otherwise smooth picture-taking process? In most cases, the key offender is misalignment.
This often happens when the film cartridges are not properly inserted or when the film doesn’t neatly align with the ejection slot. Imagine trying to fit a square peg into a round hole – it simply won’t work without a bit of force. In the case of your camera, that force can result in a jam.
Another common cause of film jams is overfilling your cartridges. Yes, we understand the urge to pack as many film sheets as possible into the cartridge to capture all the memorable moments. But this can be counterproductive.
Too many sheets can cause a bottleneck effect, creating a blockage that prevents the film from ejecting properly. It’s like stuffing your suitcase so full that you can’t zip it closed. In the end, less is more – a less crammed cartridge means more successful photo shoots.
Now that you’ve understood the usual suspects behind the film jams, you’re better equipped to troubleshoot and, more importantly, avoid these situations. So, the next time your Instax Mini 9 decides to hold onto your film a little too tight, you’ll know exactly where to start your detective work.
Initial Checks: Are You Loading the Film Correctly?

We all know that even the best adventures can be derailed by a tiny misstep. When it comes to your Instax Mini 9, that misstep could be as simple as improperly loading the film. Let’s make sure we’ve got this basic step down before we dive into any deep fixes, shall we?
It’s all about aligning those cheery little yellow marks. Grab your Instax film packet and look for the yellow mark – it’s your compass in this journey. Now, let’s play matchmaker: align this mark with the corresponding yellow mark on your camera. Voila! You’ve just set the stage for a successful film-loading endeavor.
Next, it’s time to close the show – literally. Gently shut the back door of your camera and give it a good firm click. It’s now ready to come to life, with a simple press of the power button.
Here’s where the magic happens. Once powered on, your camera should automatically eject the film pack cover. Consider it the camera’s way of rolling out the red carpet for your film, prepping it for all the picture-perfect moments ahead.
So before we get our hands dirty with more technical fixes, let’s double-check the basics. If it’s just a matter of a mismatched yellow mark or a hurriedly loaded film pack, we’re back in business with just a few simple steps. Remember, every great shot begins with correctly loaded film.
Quick Fix: Try Ejecting the Film Again

Don’t fret if your film is stuck. There’s an easy, go-to solution to get you back to snapping away in no time. It’s a bit like dealing with a hiccup: Sometimes, all it needs is a second try. So, first things first, ensure your Instax Mini 9 is switched on and all set for action.
With the power on, it’s time to coax your camera into releasing the stubborn film. Gently press the shutter button – it’s like asking your camera politely if it could please release the stuck film. If the stars align, the film will gently slide out and your camera is ready for its next shot.
But, hold up! Before you get too enthusiastic with the shutter button, remember: no forcing. If your film is acting a bit too shy and doesn’t come out smoothly, stop there. A stubborn film is a sign that it needs a different approach, not more force. So, keep it gentle, keep it patient, and you might just find that your jam is resolved with a simple click.
Hands-On Resolution: Removing the Film Manually
So, the gentle touch didn’t work and your film is still playing hide and seek? No worries, it’s time to take the reins and gently ease out the stubborn film yourself. But caution is the name of the game here. Remember, just like a delicate feather, the film surface is sensitive and can easily be damaged, so no aggressive moves!
First, you’ll want to retreat to a dark room – think of it as playing hide and seek in the dark. Why, you ask? Light is a sworn enemy of your film and can overexpose it, turning your potential masterpiece into a white, blank nothing. Now, that’s a horror story we want to avoid!
Once you’re securely in your dark hideout, carefully open the back of your Instax Mini 9. Now it’s just a matter of gently removing the film pack. Be sure to cradle it in your hands like a precious gem – it does, after all, hold your cherished moments.
Now, do a quick scan. Is there a film sticking out? If so, slowly pull it out. If not, examine the film pack. Is there a visible jam there? If so, tenderly adjust the film until it’s free.
Once the coast is clear, return the film pack to its rightful place in your camera, ensuring those telltale yellow marks are aligned. And voila, you’ve just performed a successful film extraction!
But remember, practice makes perfect. So don’t fret if your first manual film removal feels a bit like defusing a bomb. With each jam, you’re one step closer to becoming a pro at this. Just keep calm, and carry on clicking!
Maintenance Tips: Preventing Future Film Jams
The secret to a smooth-running Instax Mini 9? Just like most things in life, it’s all about maintenance. Let’s dive into some easy ways you can keep your camera jam-free. First up is embracing the “less is more” approach.
Loading too many film sheets into the cartridge is akin to trying to fit an elephant into a mini. It’s just not going to work! A jam-free camera starts with a cartridge that’s not overstuffed. Think of it as decluttering your camera – a less crowded cartridge paves the way for smooth film ejection.
Next, remember to pay attention to the little details when loading your film. Those yellow marks aren’t just for decoration! They’re guiding stars in your film-loading universe. Misalignment can often lead to film getting stuck, so ensure your yellow marks are aligned each time you load a new film pack.
And lastly, it’s always a good idea to handle your camera with care. Rough handling can cause misalignment and jams. So remember, your Instax Mini 9 is more of a delicate swan than a rugged football! Treat it with gentleness and respect, and it’s likely to reward you with jam-free operation.
While film jams can’t always be avoided, following these simple maintenance tips can greatly minimize their occurrence. It’s all about mindful operation – and a well-maintained camera is a happy, jam-free camera!
When to Seek Professional Help: Recognizing When It’s More Than a Jam
If you’ve exhausted all of your troubleshooting skills and your film still seems to be holding a sit-in protest, it might be a sign that you need to call in the professionals. Continual film jamming could be the symptom of a more serious mechanical hiccup that’s well beyond a simple jam.
If your Instax Mini 9 is still enjoying its warranty period, it’s time to give the folks at the manufacturer a shout. If not, don’t despair. Consider reaching out to your local camera repair shop. They’ve likely dealt with rebellious films and stubborn cameras aplenty.
Just remember, sometimes it takes a seasoned hand to coax a persistent jam out of its shell. Like they say, don’t throw in the towel – or in this case, the camera – just yet. Resilience is key in the face of a stubborn film jam!


