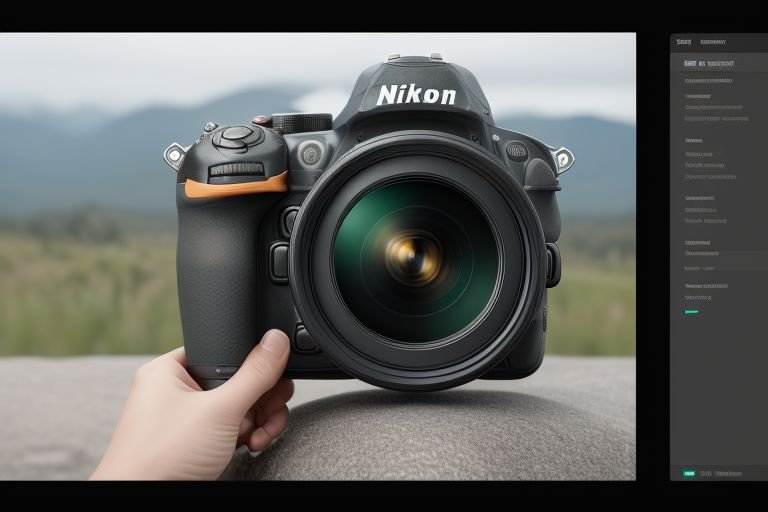
Are you an aspiring photographer or just looking to improve your photography skills? Well, then you’ve come to the right place! If you’re a proud owner of a Nikon camera and a Mac computer, you might be wondering how to connect the two for easy file transfer and editing.
Don’t worry, we’ve got you covered. In this step-by-step guide, we’ll walk you through the simple process of connecting your Nikon camera to your Mac, allowing you to easily transfer and edit your photos and videos. So, grab your camera and let’s dive into this exciting tutorial!
How to Connect Nikon Camera to Mac?
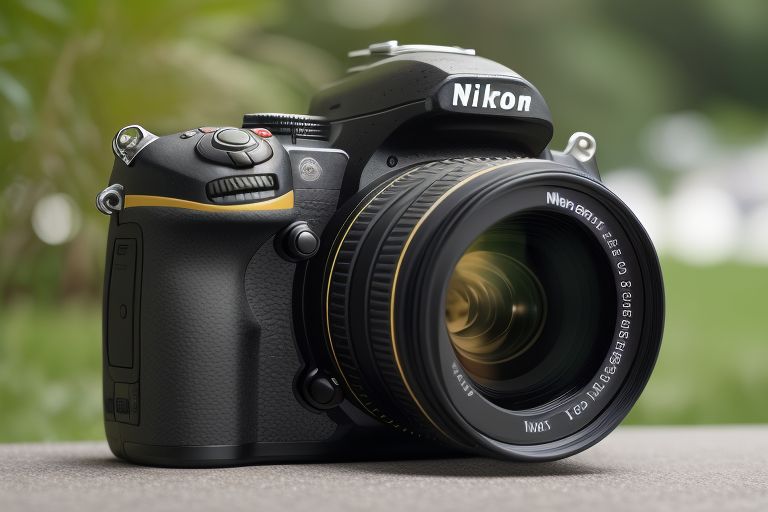
Ready to bridge the gap between your Nikon camera and your Mac? This process is not as intimidating as it might seem. Here’s the quick rundown:
- Make sure your Nikon camera is turned off. This is to ensure safe connection.
- Find the USB port on your Nikon camera. It’s typically hidden beneath a small rubber flap.
- Connect the smaller end of your USB cable into the Nikon camera’s USB port.
- Connect the other, larger end of your USB cable to your Mac’s USB port. This completes the physical connection.
- Now, turn your Nikon camera on. Your Mac should automatically recognize your Nikon camera.
Sometimes, your Mac may ask you to download or update the software necessary for the connection. Don’t worry, it’s just a safety precaution to ensure smooth transfer of your photos and videos.
And voila! You’ve successfully connected your Nikon camera to your Mac. It’s all set to deliver your splendid captures onto your Mac’s big screen. The adventure is now ready to truly kick-off! Just remember, it’s not a race. Take your time and relish in the joy of seeing your creative endeavors on a larger canvas. Your stunning shots are all set to make their grand entrance!
Understand the Basic Requirements for Connection
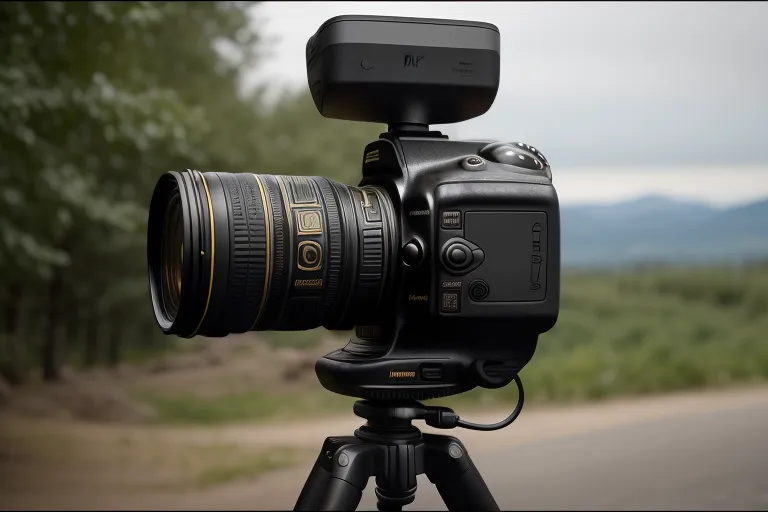
Ready to start this exciting digital journey? Before we jump into the step-by-step process, let’s make sure you have all the tools you need for a seamless photo transfer experience.
Your toolbox for this task is quite simple – your trusty Nikon camera, your mighty Mac, and a USB cable that matches your camera. This dynamic trio will ensure you’re well on your way to uploading your latest photographic gems onto your computer.
So, grab your Nikon, your Mac, and your USB cable, and get set for a smooth sailing photo transfer adventure. Remember, every great adventure starts with the right equipment, and you’ve got yours in hand. Let’s power forward to the next step!
Prepare Your Nikon Camera for Connection
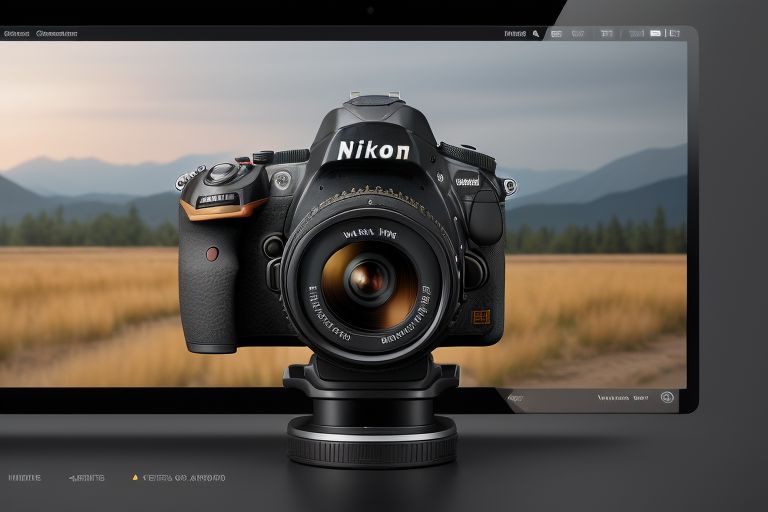
Embarking on the next stage of our digital adventure, it’s time to prep your Nikon camera for its grand connection.
The process is as simple as 1, 2, 3. Start by switching off your camera to ensure a safe connection.
Next, let’s find the USB port on your Nikon – a tiny, secret doorway typically hidden beneath a small rubber flap.
Gently lift this flap to reveal the port, where the smaller end of your USB cable will be snugly fitted. This important connection forms the bridge between your stunning shots and your Mac, bringing us one step closer to seeing your masterpieces on a bigger screen.
The spotlight is now on your USB cable. It’s time for it to step up to the plate and form the essential link in this photographic chain. Exciting times ahead!
Connect Your Nikon Camera to Your Mac

With your camera primed for action and your trusty USB cable at the ready, it’s showtime! The larger end of the USB cable is destined for your Mac.
Securely plug it in and ensure the connection is firm. Now, with both ends firmly attached, bring your Nikon camera back into the spotlight and switch it on.
A sense of anticipation fills the air as your Mac springs to life, automatically identifying your Nikon camera. You might find yourself being prompted to download or update the software essential for this grand act.
Don’t fret; this is merely your Mac ensuring everything is in place for your photos to make their grand entrance onto the bigger stage.
It’s a thrilling moment, seeing your precious memories getting ready for their digital debut. The anticipation builds up, but remember, we’re just a few steps away from the big reveal.
Using Image Capture to Import Photos

With anticipation building, let’s delve into the magic of Image Capture, a handy pre-installed app on your Mac that will be your faithful sidekick in this photo importing endeavor.
It’s time to seek out Image Capture, tucked away in your Applications folder. Once opened, a glance towards the left column will reveal your Nikon camera, patiently waiting for its turn in the spotlight.
A single click on your camera’s name will unlock a world of visual splendor – thumbnails of all your stunning captures will greet you.
Now comes the exciting part! Browse through your photos, let your heart pick the ones that call out to you, select them, and then, with a single click on “Import,” you’ll be setting them off on their journey to your Mac.
This effortless process, courtesy of Image Capture, transforms your Mac into a digital canvas, ready to showcase your Nikon’s artistry. So, go on, start the import and witness the digital unveiling of your photographic brilliance.
Transferring Images Using Nikon Transfer 2
Taking our digital adventure up a notch, we’re going to dive into the world of Nikon’s official software – Nikon Transfer 2. This robust application makes importing your stunning images a breeze.
To get started, you’ll need to download and install Nikon Transfer 2 from Nikon’s official website. Once you have this handy tool at your disposal, it’s time to fire it up!
As you open Nikon Transfer 2, you’ll notice your Nikon camera is waiting patiently to be selected. So go ahead, give your camera the nod and then comes the moment of thrill – choosing your photos.
As you scroll through your Nikon’s catalog of visual masterpieces, select those images that spark joy. Remember, there’s no rush here.
Let your heart guide you to the shots that captivate your senses. And then, with a momentous click on the “Start Transfer” button, your selected images will begin their exciting journey to your Mac.
There’s something uniquely satisfying about witnessing this process, knowing your creative output is seamlessly making its way onto your Mac, all thanks to Nikon Transfer 2.
Troubleshooting Common Connection Issues
So, your Mac seems to be giving your Nikon camera the cold shoulder? Not to worry! We’ve got some solutions up our sleeve to melt away this digital disconnect. Let’s don our troubleshooting hats and work through this together.
First, inspect your USB cable – a little detective work can go a long way. Are there any visible signs of wear and tear? If your USB cable is looking a bit worse for wear, it might be time for a replacement.
Next, let’s keep the spotlight on your Mac, but shift our focus to its USB ports. Trying out a different USB port could be just the ticket. Often, it’s the simplest of changes that can make the biggest difference.
And lastly, it’s worth checking that both your Mac and your Nikon are sporting the latest software updates. It’s all too easy to ignore those update notifications that pop up, but they’re essential for ensuring your devices play nice together.
So, breathe easy. With these handy troubleshooting tips, you’re well-equipped to overcome any connection hurdles. Remember, even the best of digital friends need a little helping hand to stay in sync.
Disconnecting Your Nikon Camera from Your Mac
The grand finale of our digital journey involves safely disconnecting your Nikon camera from your Mac. This might seem like a simple step, but it is a crucial one to protect your valuable devices and precious data.
Look for the Eject button beside your camera’s name within Image Capture or Nikon Transfer 2. One click here ensures your Nikon’s safe digital departure.
Now, all that remains is the physical disconnection. Gently remove the USB cable from your Mac and your Nikon camera.
With this final step, your thrilling photo transfer adventure draws to a successful close. Pat yourself on the back – you’ve navigated this digital journey like a pro, safeguarding your stunning shots all the way.
Now, your Nikon is free for your next photographic escapade, and your Mac is brimming with visual treasures ready to be admired, shared, or stored.
Disconnecting might mark the end of the process, but it’s just the beginning of the enjoyment of your Nikon’s digital masterpieces. So, take a bow and prepare for an encore – your next photo transfer adventure awaits!

